By Emma Daniels
If you are anything like me, you are fascinated by ‘why?’ People often dread the ‘why?’ phase of children’s development, the constant questioning of literally everything. But I love it. It always fascinates me to observe children’s minds at work. ‘Science Week’ is one of my very favourite weeks of the year! After all, “If you keep asking questions, you’ll keep getting answers” – Miss Frizzle “The Magic School Bus”
There are so many child friendly science experiments that you can do at home. Let’s explore some of the classics, with a twist….
Volcanoes
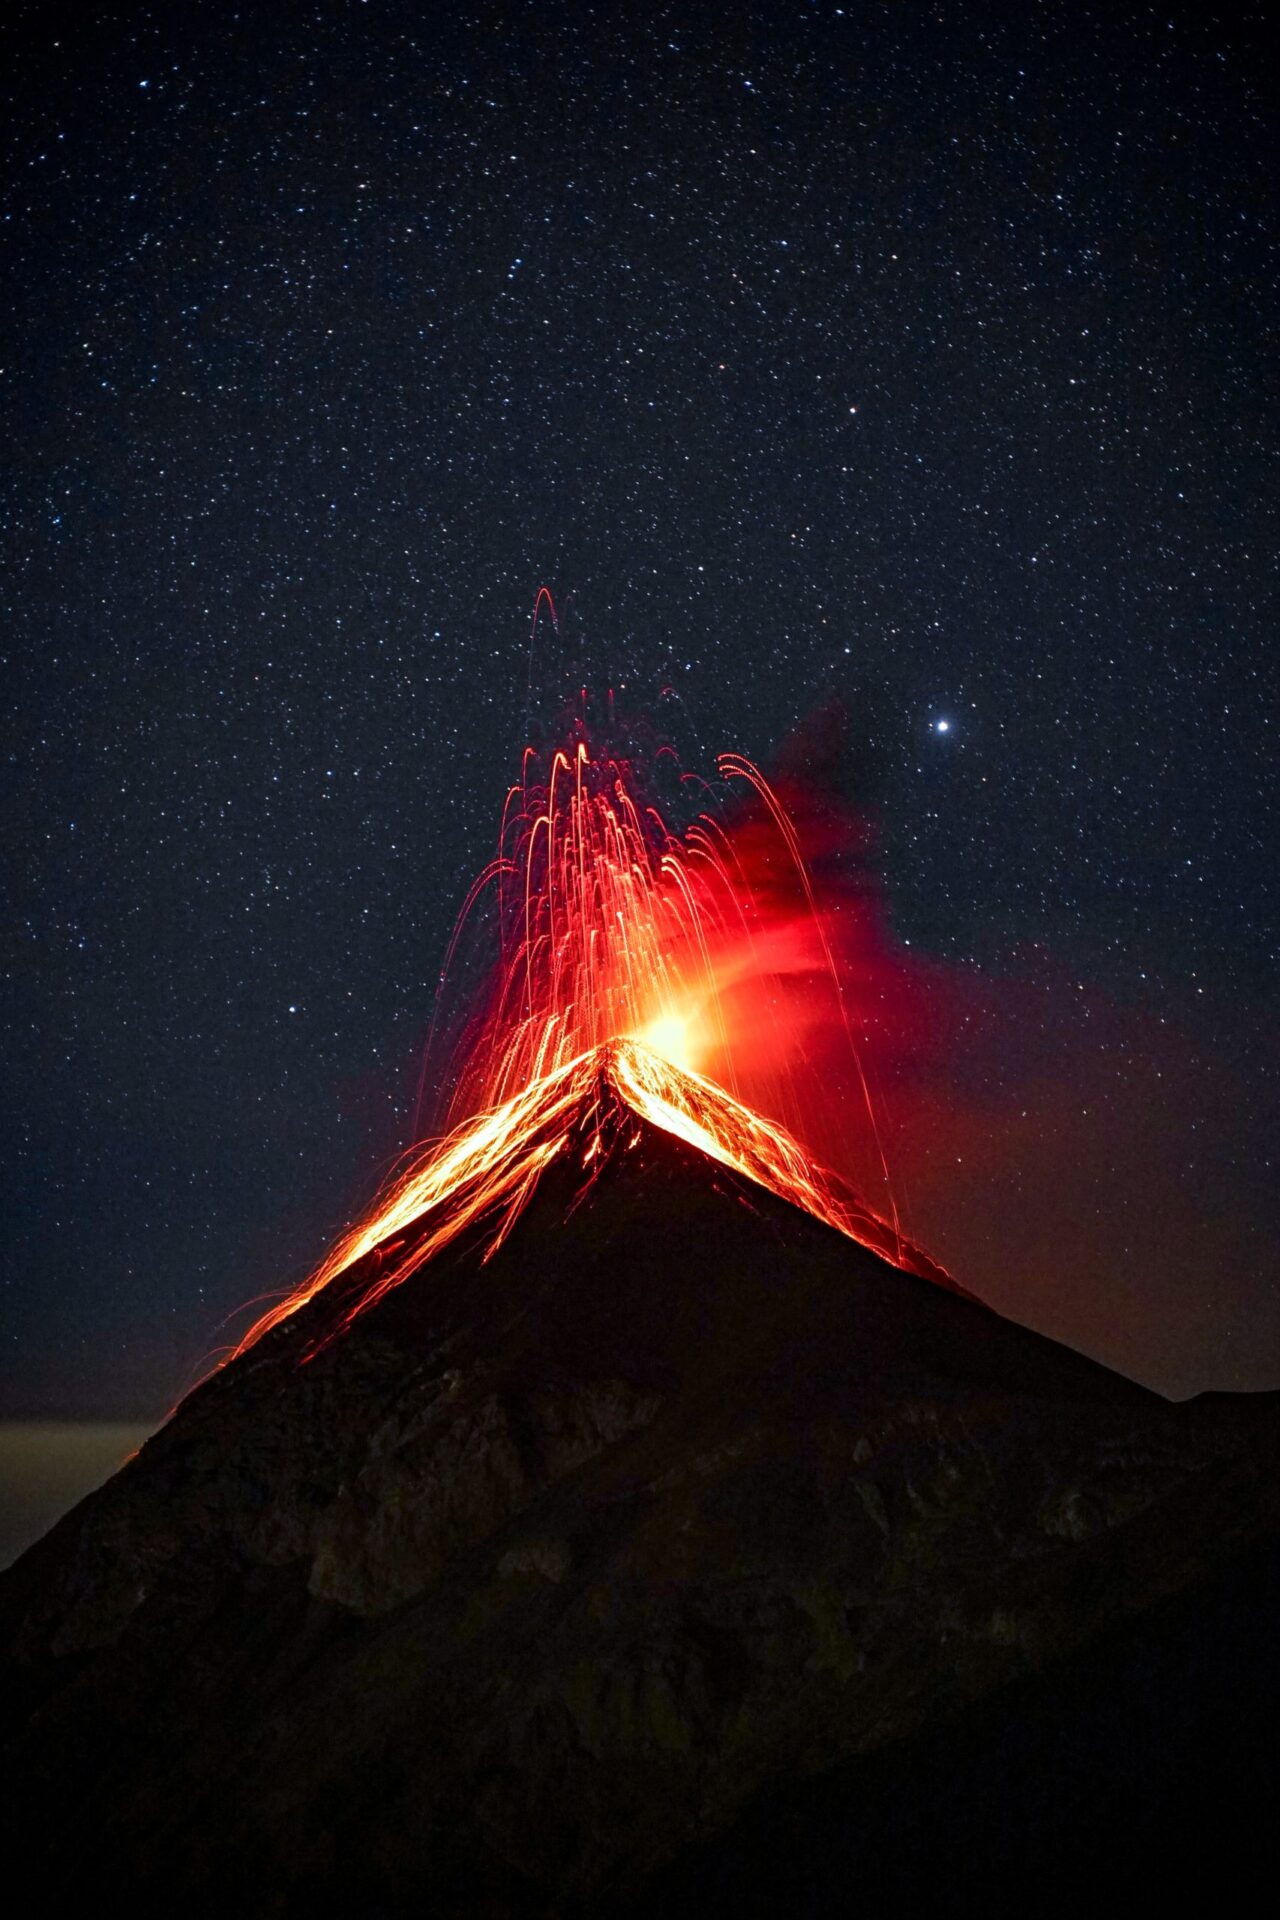
Who isn’t fascinated by volcanoes? They took out the dinosaurs after all, they spray lava into the air which flows over, down and across, rearranging the landscape as it goes. Always destructive, but an awesome display nonetheless. The classic bi-carb/vinegar combo has fascinated children for years. Observing the chemical reaction and watching as gas is formed, creates so many wonderful opportunities for discussion, observation, hypothesising, scribing and theorising.
What you need:
- Bi-carb
- White Vinegar
Optional extras:
- Lemons cut in half- juiced
- Muffin Trays
- Food Dye
- Dishwashing Detergent- add a drop to the bi-carb and you will get more pronounced bubbles
- Washed egg shell (as intact as possible, enough to pour in bi-carb)
- Droppers
- Various containers, bowls, cups, spoons,
- Spray bottles
How it works:
This is a great one because it really doesn’t matter how much you use, give it to the children (preferably outside) and let them mix it themselves.
Muffin trays:
Pour some bi-carb into the trays and the children can you spray bottles of coloured vinegar, droppers with vinegar or free pour from containers
Lemon:
This one is great as the acid from the lemon causes a reaction in and of itself with the bicarb, using the juiced lemon halves as cups, the children can pour in the bi-carb, vinegar and food dye.
Egg Shell:
This one is a little more fiddly and more of a way to reuse items in the home. If you crack an egg with 2 halves that can hold bi-carb the children can use this as an alternative. It is a great way to teach them about fragile things and how to handle them.
Dancing Sultanas
This is another great experiment to do with children, simple, effective and bonus… pack up is sorted as you consume the end result! It demonstrates buoyancy as the bubbles move the sultanas around the cup. It is an exercise in patience, as it doesn’t happen straight away. I watch as the children eagerly wait for the first twitch of the sultana and then it’s a full on disco!
What you need:
- Sparkling Apple Juice (or something similar, just needs bubbles!)
- Sultanas
- Cups
How it works:
- Pour ¾ cup of sparkling apple juice: or alternative sparkling option
- Get the children to add sultanas: do not add too many the first time, as this will stop them from moving. However, once you have completed the experiment, you could allow the children to choose how many go in and observe the difference when you overfill the cup with sultanas.
- Patiently wait and observe: soon the sultanas will begin to twitch on the bottom of the cup and then slowly rise up and down in the cup
Walking water
This one fascinates me. Isn’t gravity amazing? There are a few variations on this experiment that you can do at home. It is also a great exercise in patience, as you don’t always see immediate results, depending on which variation you try. It is an excellent opportunity to observe changes over time.
What you need:
- Paper towel
- Water
- Food dye
- Cups
For alternate variations
- Whole celery stalks
- Flower- White, with a long sturdy stem
- Vase or clear container that can hold the weight of water and flowers/celery
- Scissors
- Something to record your observations with: clipboard, paper, pencils, camera
How it works:
For the paper towel version:
- Choose how many colours you want to make (7 cups is most effective, but you can decide as long as there is a minimum of 3)
- Fill to about ¾ full of water, every second cup. So if using 7 colours you would fill cup 1, 3, 5, 7
- In cup 1 and cup 7 place the same colour (or don’t it is up to you) and in the remaining in cups add the other colours (this works best with Primary colours; Red, Yellow, Blue)
- Fold a piece of paper towel in half lengthwise and then lengthwise again. You will then place one half of the paper towel in the first cup and the other half in the second cup. *make sure that you trim the ends if the bend in the paper towel is sitting high in the air as this may affect how quickly the water walks. Repeat this process until all cups have a piece of paper towel connecting them.
For alternate versions
- Using a vase/container- fill to about ¾ full and add the food dye of your choice
- If using celery, trim the end and place quickly in water before the end dries out as this will stop the water being absorbed and will reduce the effect
- If using white flowers, trim the end of the stem so it is wet and place immediately in the coloured water
- Now sit back and observe what happens, it will happen over time and is a great opportunity to make observations, and hypothesise on possible results. Make sure you record your observations!
So future scientists of the world, get experimenting! And don’t forget, as Miss Frizzle always says, “Take chances, make mistakes, and get messy!” – “The Magic School Bus”


